A couple minutes of footage from an iPhone or camera can easily hit 3-5 GB, and a standard export from your editor barely shrinks it. Most people adjust resolution but leave bitrate untouched – as a result, the file stays huge or picks up visible artifacts. Below, we break down three approaches: exporting with Apple’s built-in tools, manual compression in HandBrake, and automation through JWizard Cleaner.
Table of Contents
- Why Video Files Take Up So Much Space on Mac
- Compressing Video with QuickTime Player
- Exporting from iMovie with Quality Control
- HandBrake and Permute for Manual Fine-Tuning
- Comparing Video Compression Methods on Mac
- JWizard Cleaner for Lossless Video Compression
- Frequently Asked Questions
Why Video Files Take Up So Much Space on Mac
The main culprit behind bloated file sizes is a high source bitrate paired with a codec that isn’t built for storage. Phones and cameras record with extra headroom meant for editing, not archiving. Consequently, a 4K clip can end up 3-4 times larger than what you’d actually need for smooth playback.
This is especially obvious with ProRes: even after compression attempts, 4K ProRes footage with a high bitrate stays massive. That’s because of how the format is built – ProRes was designed for editing workflows, not compact storage, so standard compression barely touches these files.
There are three practical levers you can pull:
- Switch codecs – moving from H.264 to H.265 (HEVC) cuts file size without sacrificing detail.
- Lower the bitrate – reduce the data flow per frame while keeping resolution intact.
- Change the resolution – only worth it if the final viewing screen is smaller than the source.
Compressing Video with QuickTime Player
QuickTime Player is the most accessible option for shrinking a video without installing anything extra. It works well for a one-off export when you don’t need granular control.
- Open the video in QuickTime Player.
- Go to File → Export As.
- Pick a resolution lower than the original (say, 1080p instead of 4K).
- Save the file and compare the size against the original.
To shrink a movie file in QuickTime, export at a lower resolution or switch to HEVC – either move gives you meaningful space savings while keeping the picture intact.
⚠️ QuickTime doesn’t let you manually set the bitrate – it picks parameters automatically based on the resolution you choose. If you need precise quality control, you’ll need a tool with more advanced export settings.
Exporting from iMovie with Quality Control
iMovie makes sense once your video is already edited and you just need to optimize the final file. The app supports several export formats with adjustable quality settings.
- Open your project in iMovie.
- Click Share → Export File.
- Manually select resolution and quality – presets range from low to best.
- Export, then check the resulting file size.
When exporting in high resolution, avoid pushing the bitrate too low artificially: quality cuts become obvious immediately in fast-motion scenes.
Limitation: iMovie doesn’t offer manual H.265 encoding – codec choice is locked to the app’s built-in presets. If you need direct HEVC control, you’ll have to look elsewhere.
HandBrake and Permute for Manual Fine-Tuning
HandBrake and Permute hand you full control over codec, bitrate, and resolution – the go-to choice if you want maximum compression with minimal quality loss. Both tools support H.265, which delivers up to 50% better compression than H.264 without a visible quality hit.
HEVC can shrink a video file by as much as 40% compared to H.264 at subjectively similar visual quality – this is backed by Apple’s own technical documentation. That’s exactly why switching to H.265 has become the standard approach for lossless-feeling compression on Mac.
- Install HandBrake and open your video file.
- In the settings, choose the H.265 MKV preset or something similar with two-pass VBR.
- Set the bitrate manually – 8-12 Mbps is enough for 1080p, and 4K needs at least 25 Mbps.
- Start encoding and compare the result with the original.
Two-pass VBR in Apple Compressor, along with HandBrake’s presets, is specifically built to preserve quality while shrinking file size – it’s not fast, but it’s predictable.
⚠️ Manual bitrate tuning eats up time during encoding – a 4K file can take anywhere from 20 minutes to an hour depending on length. For anyone dealing with video regularly, this quickly becomes a chore.
So how do you speed this up when compression isn’t a one-time task but a recurring one?
Comparing Video Compression Methods on Mac
The real decision comes down to balancing quality control against speed: manual tools give you precision, but every file costs you time.
Of the options covered, HandBrake remains a solid pick if you’re willing to fine-tune bitrate for each clip by hand. That said, once you’re dealing with a large batch and repeating the same setup gets tedious, automation saves time without giving up control over the outcome.
JWizard Cleaner for Lossless Video Compression
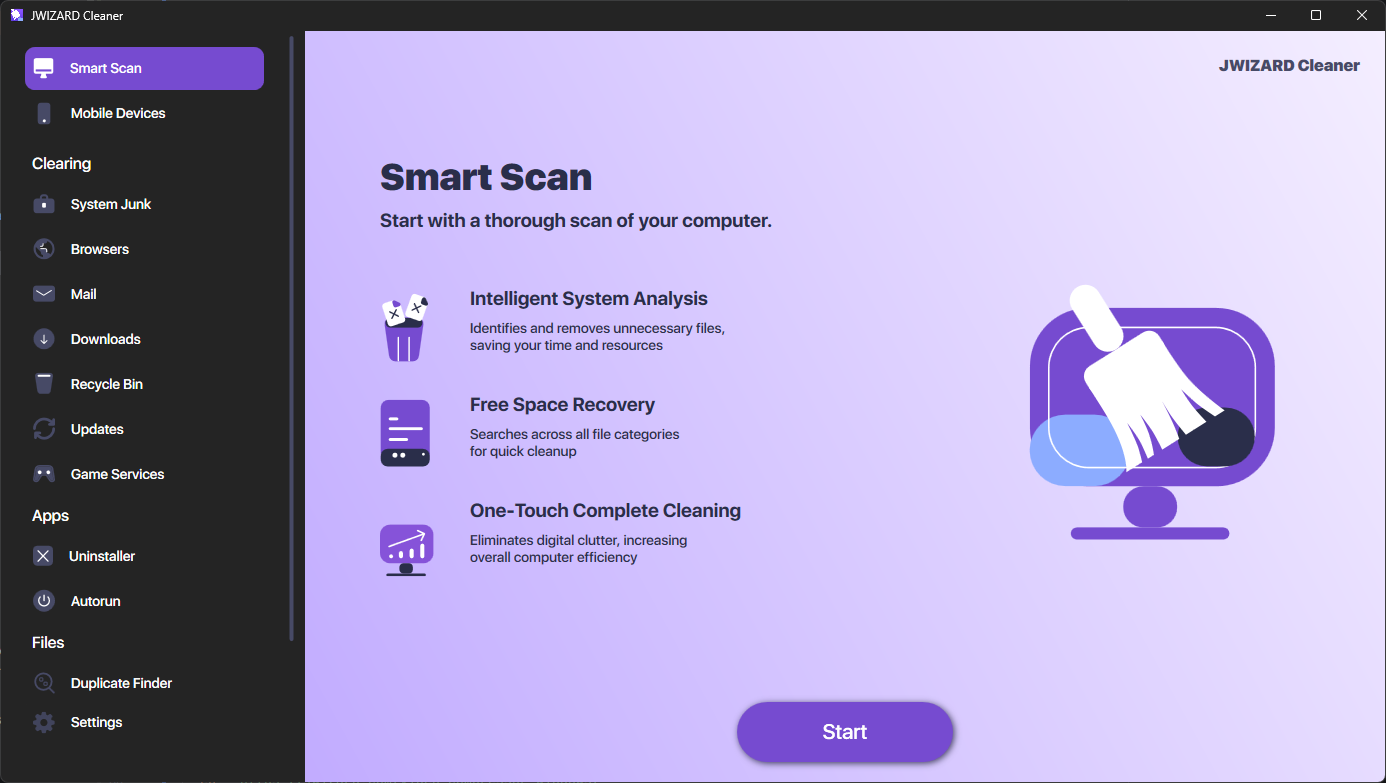
When you need to shrink a video without risking the picture, JWizard Cleaner offers a “Lossless Quality” preset – it keeps the original visual output intact while cutting the file’s footprint. This works particularly well for archival, work, and family videos where preserving the original picture matters.
- “Lossless Quality” preset – preserves visual detail while optimizing file weight.
- Automatic parameter selection – bitrate and codec are chosen for each specific file, no manual tuning required.
- Cross-format compatibility – works with footage from different sources, including camera and smartphone archives.
After a trip or a finished project, your gallery often ends up stuffed with dozens of massive video files – which is exactly why more than 50,000 users keep JWizard Cleaner installed permanently on their device.
A properly compressed video weighs 3-4 times less than the original, yet looks identical on screen. In the end, the right method depends on how often you’re doing this: a one-off export calls for QuickTime or HandBrake, while ongoing work with large volumes of footage calls for a dedicated automation tool.
Frequently Asked Questions
Can you compress video on Mac with zero quality loss?
Not entirely – any re-encoding changes the source data in some way. The real goal is making that loss invisible to the eye. Switching to H.265 with a sufficient bitrate usually gets you there.
What’s the difference between HandBrake and QuickTime for compression?
QuickTime picks settings automatically and gives you no control over bitrate. HandBrake, on the other hand, lets you manually configure codec, bitrate, and resolution, which produces a more predictable compression result.
Why does ProRes footage stay large even after compression?
ProRes is built for editing, not compact storage, so standard compression methods don’t do much for this format. For archiving, it’s better to export a separate H.265 copy instead.
How do you compress a large batch of video files without configuring each one manually?
Manually tuning every file in HandBrake takes a lot of time once volumes grow. JWizard Cleaner, meanwhile, automatically picks parameters for each clip based on your chosen preset, which speeds up batch processing considerably.